Managing a Running Application
Stop your application
When you are not using your application, scale down the pod to free up shared resources for other users. If you are using persistent storage, your data will still be there when you restart.
Please stop applications you are not actively using. Idle pods consume shared resources and may prevent other users from running their workloads.
To stop your application, go to the Topology page and click the down arrow next to the number of running pods. Set it to 0.
To restart it, click the up arrow and set it back to 1.
Running more than 1 pod does not increase the resources available to you. In most cases it wastes resources and causes unexpected behavior. Multiple pods only make sense for distributed workloads like Apache Spark or Flink, or when you connect to each pod separately via the terminal to run different processes.
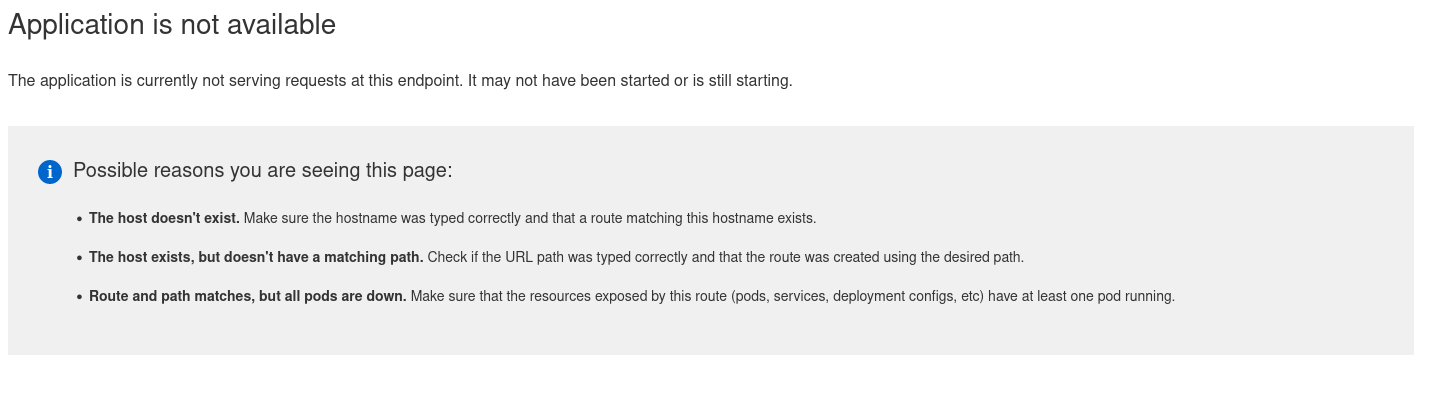
Application is not available
If you see the page below when trying to access your workspace, it usually means the pod is not running — for example because you stopped it or there was maintenance on the cluster.
To start it again, go to the Topology page, click the up arrow next to the pod count, and set it to 1.
Define a custom Docker image
Once you have a working setup, you can build a custom Docker image with everything pre-installed so you do not have to reinstall dependencies every time you start a workspace.
- Start from an existing base image (Debian, Ubuntu, Python, JupyterLab, RStudio, etc.)
- Copy your source code into the image using
COPY . . - Install your dependencies (e.g.
RUN apt-get install gfortran) - Define the startup command (e.g.
ENTRYPOINT ["jupyter", "lab"])
Example Dockerfile for a Python application:
FROM python:3.12

USER root
WORKDIR /root

RUN apt-get update && \
    apt-get install build-essential

COPY . .

RUN pip install -r requirements.txt && \
    pip install notebook jupyterlab

ENTRYPOINT ["jupyter", "lab"]
Some example Dockerfiles for reference:
See the Publish a Docker image guide for more details.