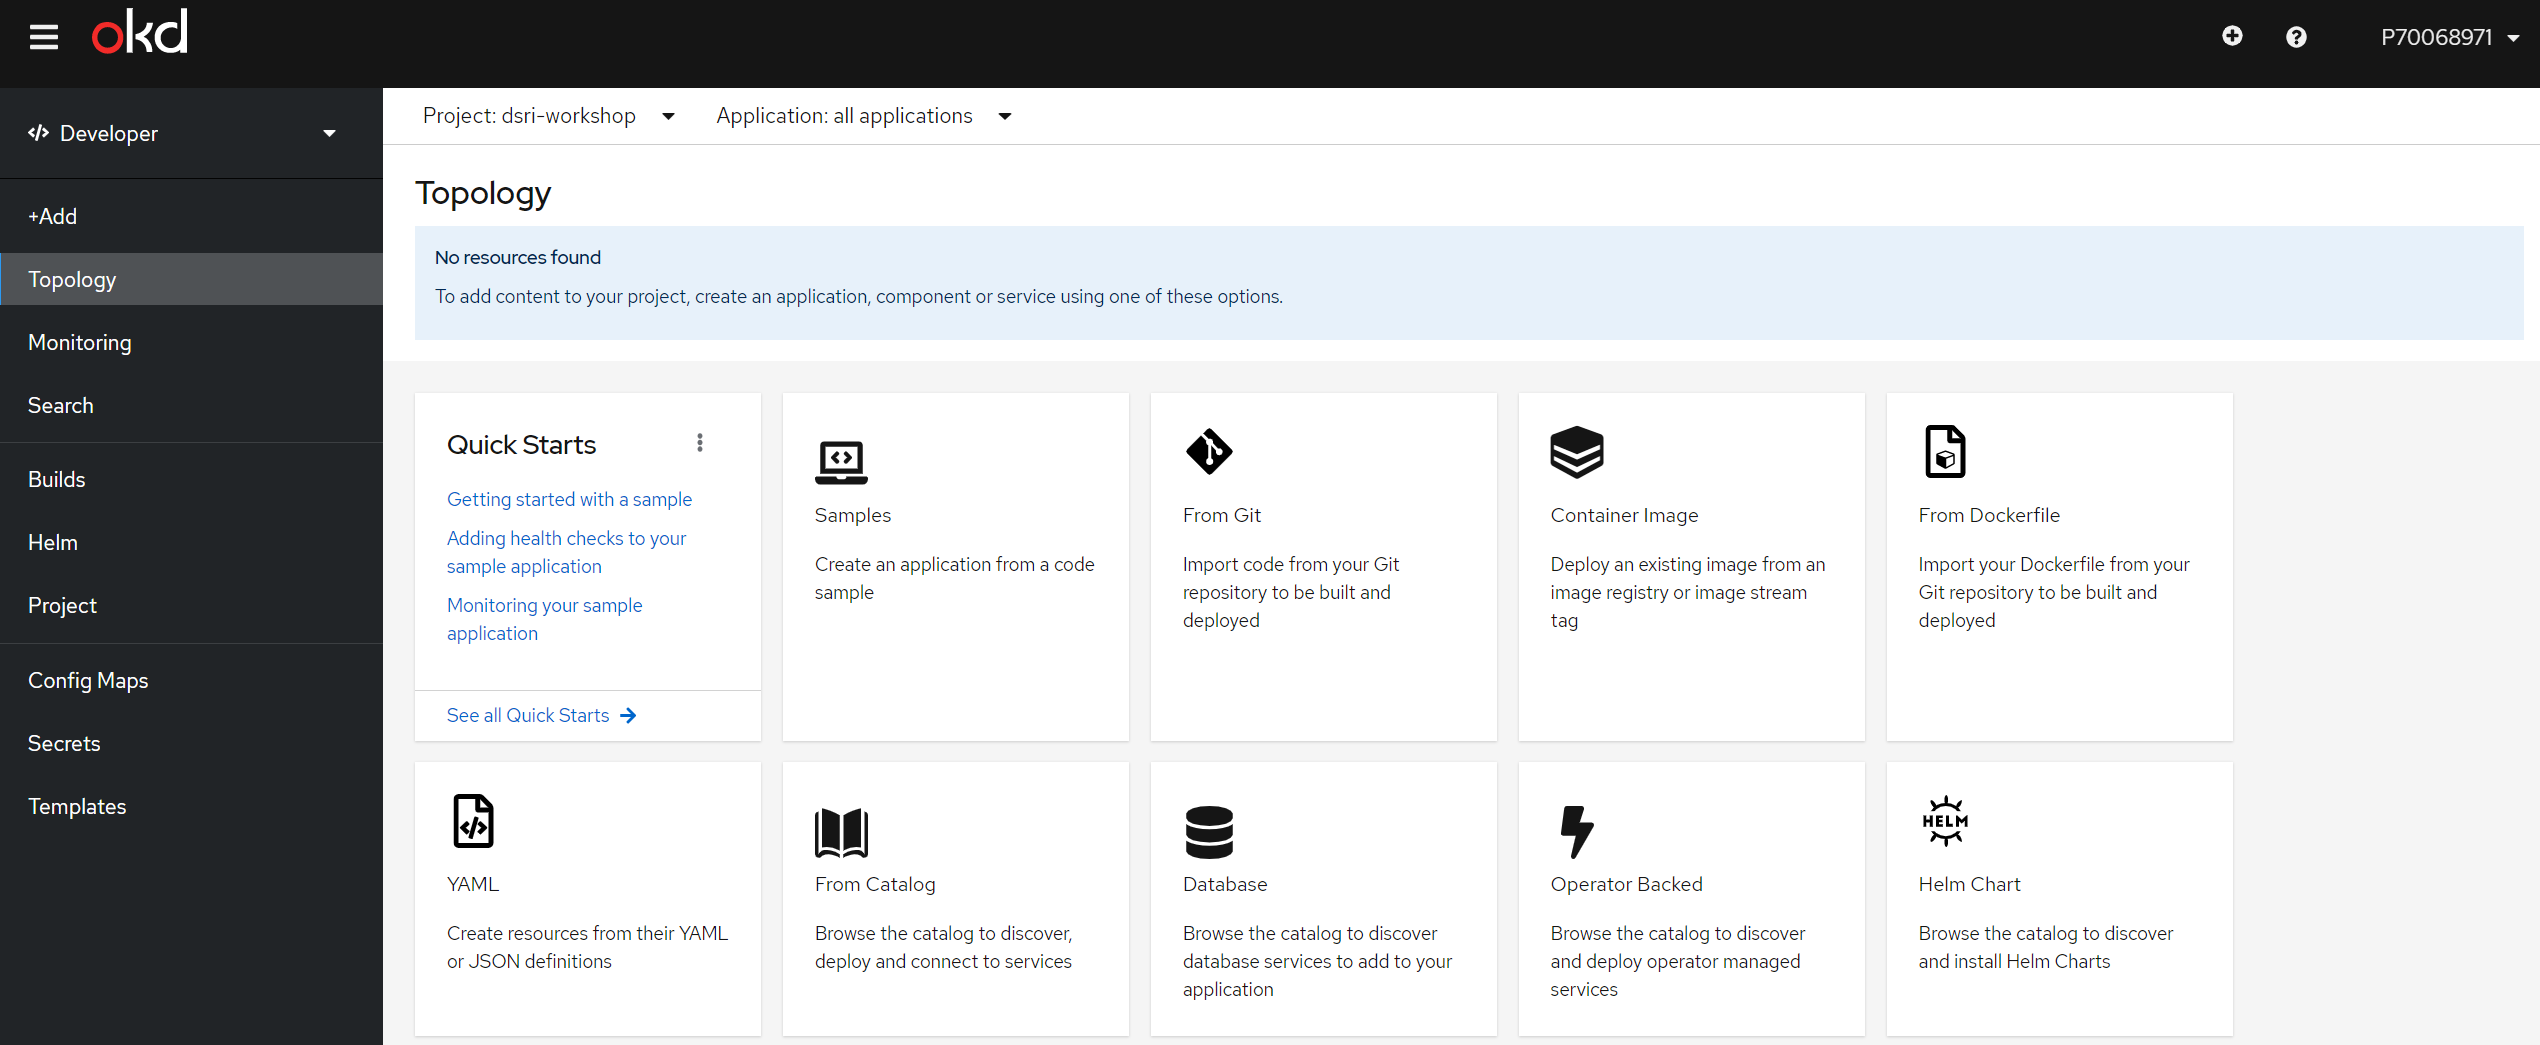
Requesting an Account
Request an account
You will need to have an account at Maastricht University with an email ending with
@maastrichtuniversity.nlor@student.maastrichtuniversity.nl.Request access to the DSRI for your account Please fill this form 📬 to provide us some information on what you plan to do with the DSRI. Once you fill the form, you will receive an email with detailed instructions on how to log in.
Connect to the UM network
You need to be connected to the UM network to access the DSRI.
🐧 On Linux: use openconnect to connect to the UM VPN. You can easily install it on Ubuntu and Debian distributions with apt:
sudo apt install openconnect
sudo openconnect --useragent "AnyConnect" --no-external-auth -u YOUR.USER --authgroup=01 vpn.maastrichtuniversity.nl
🍎 On MacOS and Windows: download and install the Maastricht University VPN client available at vpn.maastrichtuniversity.nl
Access the web UI
Access the DSRI web UI at https://console-openshift-console.apps.dsri2.unimaas.nl
Use your general UM password.
If you do not have access to the DSRI contact us.
You will be able to login at https://console-openshift-console.apps.dsri2.unimaas.nl using the standard maastricht portal upon clicking the login button:
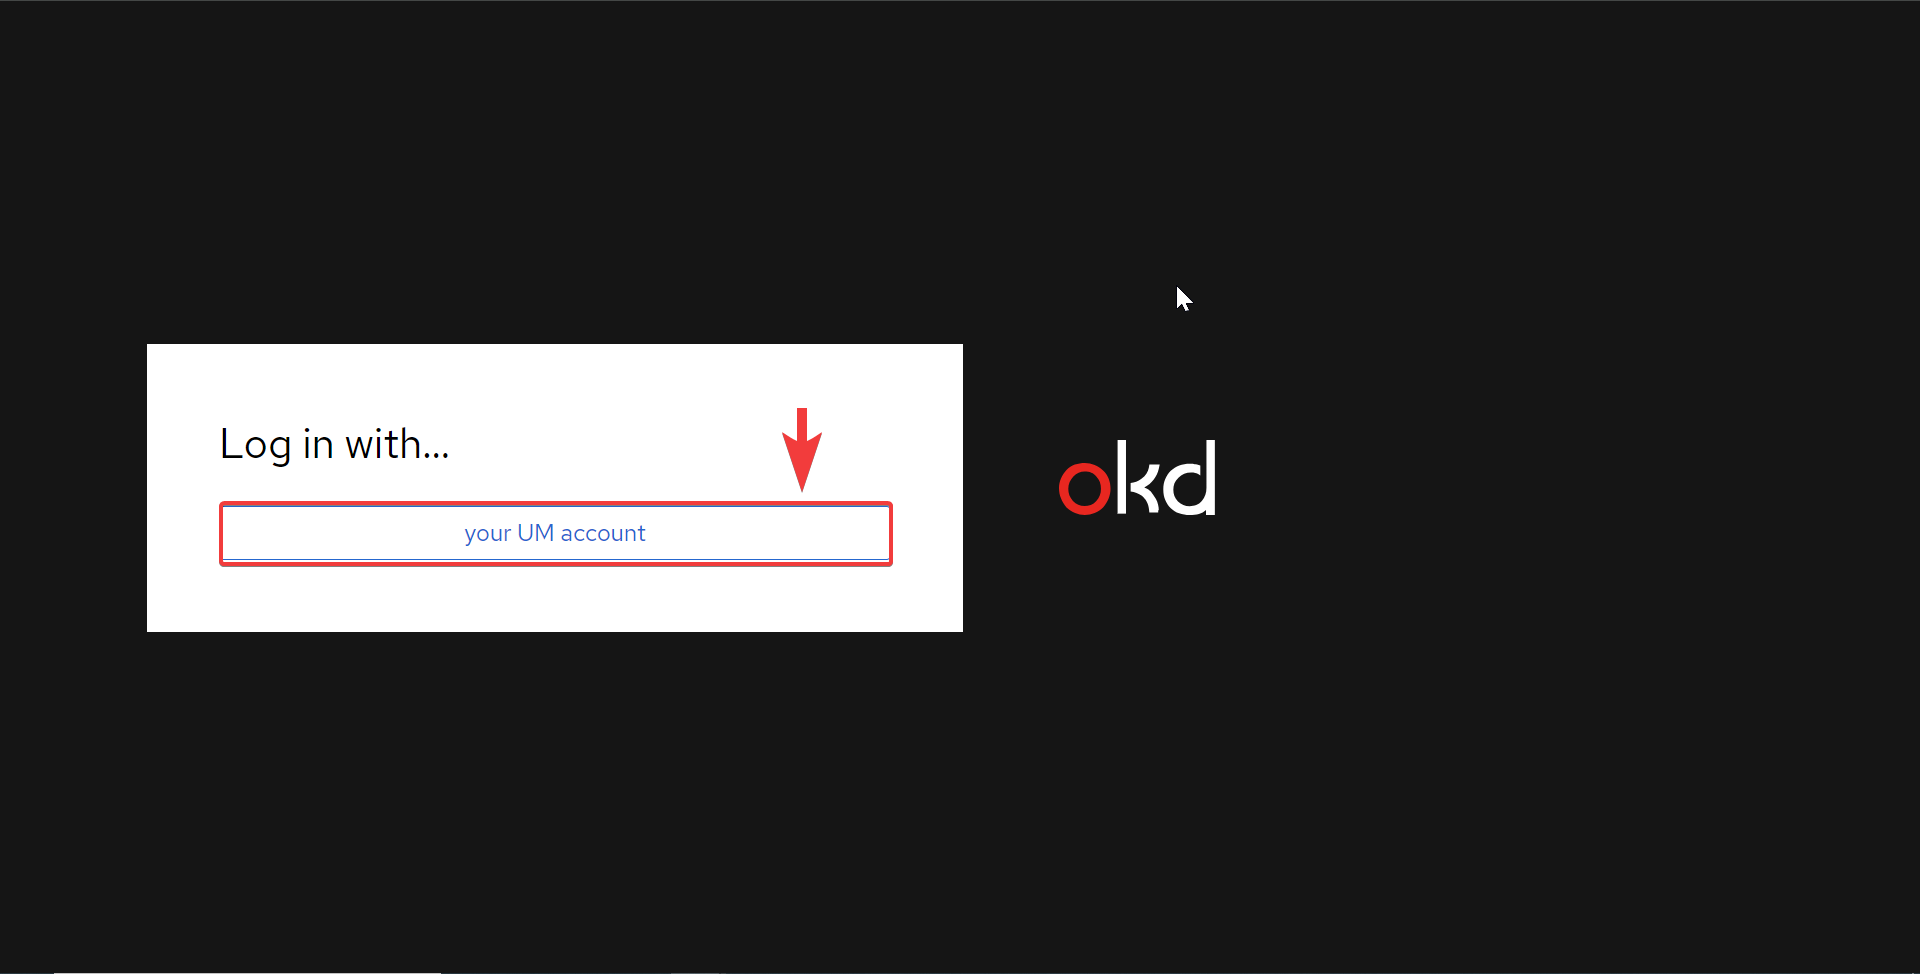
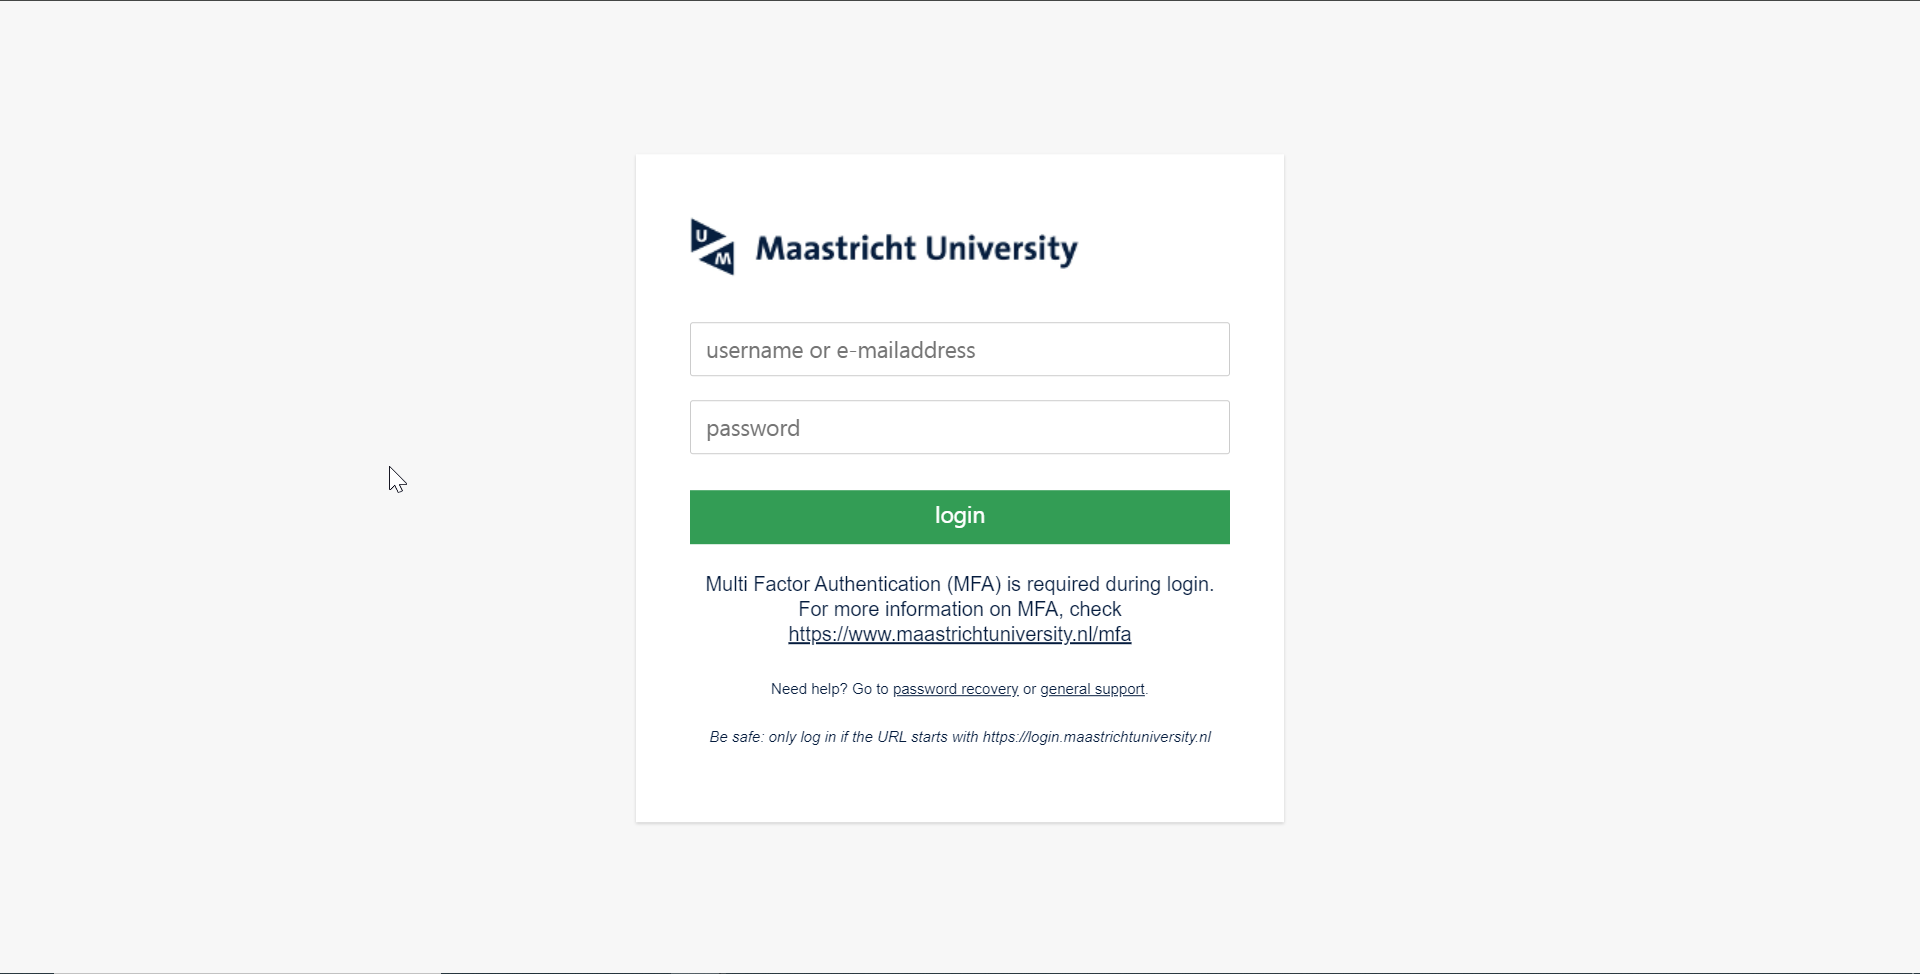
We recommend you to install the oc command line interface to perform additional operations on your applications, such as loading large amount of data using oc cp, or deploying an application from a local Dockerfile. Instructions on installing the client can be found ➡ here
Access your project
In the DSRI OpenShift web UI, applications are deployed in projects.
Create a new project with a meaningful name describing what you are doing, such as
workspace-yourname.Go to your project (applications are deployed in a project).
Only create new projects when it is necessary (for a new project). You can easily clean up your current project instead of creating a new one every time you want to try something.
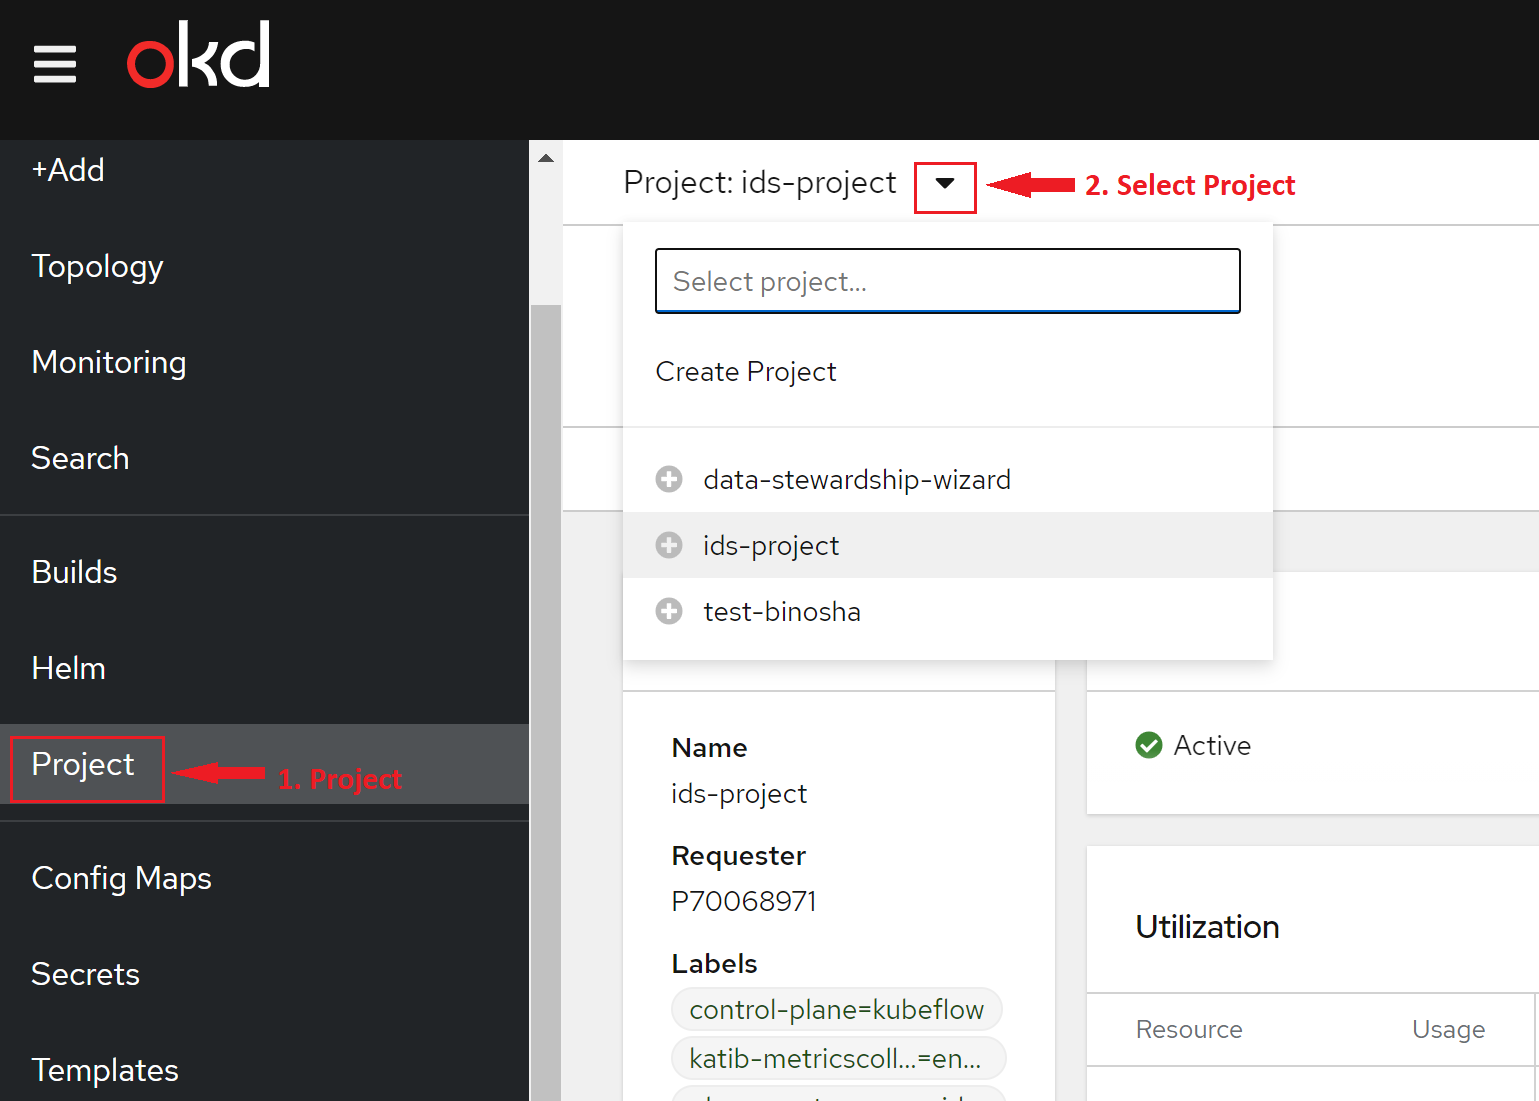
You can use the Project view in the Developer perspective to grant or revoke access permissions to your project collaborators. For More Info: Access permissions for developers to your project
About the web UI
Developers can use the web console to visualize, browse, and manage the contents of projects in new version of OKD4.
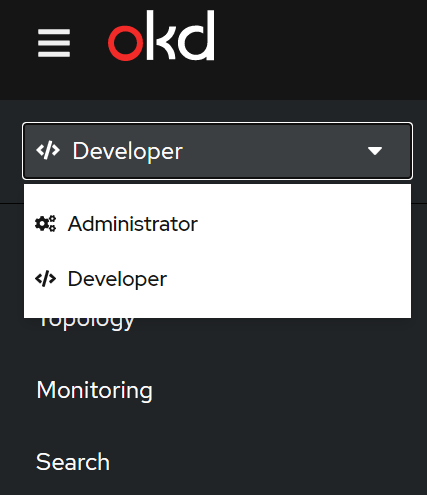
The OpenShift Container Platform web console provides two perspectives;
- the Administrator perspective
- the Developer perspective.
The Developer perspective provides workflows specific to developer use cases, such as the ability to:
Create and deploy applications on OpenShift Container Platform by importing existing codebases, images, and dockerfiles.
Visually interact with applications, components, and services associated with them within a project and monitor their deployment and build status.
Group components within an application and connect the components within and across applications.
Accessing the Developer perspective
You can access the Developer perspective from the web console as follows:
Log in to the OpenShift Container Platform web console using your login credentials.
- The default view for the OpenShift Container Platform web console is the Administrator perspective.
Use the perspective switcher to switch to the Developer perspective. The Topology view with a list of all the projects in your cluster is displayed.
Select an existing project from the list or use the Project drop-down list to create a new project.
If you have no workloads or applications in the project, the Topology view displays the available options to create applications. If you have existing workloads, the Topology view graphically displays your workload nodes.
